No matter what you play, sports gear gets grubby if it’s used seriously. But how do you effectively clean sports gear without wrecking it or using harsh chemicals? Well, what cleaning product or method you use depends on what equipment you’re talking about. But the golden rule is: the sooner you get onto it, the better.
Resist the temptation to dry clean sports clothing if you’re trying to stick to natural methods of house cleaning—the chemicals used in dry cleaning are vile. While this is how the professionals clean their gear (I guess), dry cleaning is best avoided.

Sports Shoes/Trainers
The worst bits of mud (and other substances) left on the bottom can be removed with a stiff scrubbing brush. Best to do this outside, or you’ll be left cleaning the floor as well. Mud can be sponged off trainers with warm water and maybe some soap. White canvas shoes are best avoided, but if they get grass stains, you can clean these stains off with a bit of Sard Wonder Soap (it’s the eucalyptus oil that does the stain removal job) or sponging it with vodka or some other strong spirit before giving it a good wash in warm soapy water. It is possible to put trainers through the washing machine, but cheap ones aren’t so good because the inner soles are liable to come out. Best to do what you can with a scrubbing brush and warm water. Sprinkle baking soda inside smelly trainers to remove the stink.
Cricket Clothes
What idiot decided that cricket gear should be spotless white? Thankfully, modern fabrics are a bit more stain-resistant. Treat grass stains by rubbing the spot with Sard Wonder Soap or vodka and leaving it for a bit before washing. The red stains appearing on a bowler’s trousers from polishing a ball are less alarming than they look and wash off easily in a regular wash load. Get onto stains the same day as they occur. Soaking also helps. In the case of cricket matches lasting more than one day, having two (or more) pairs of cricket trousers saves a world of bother and frantically trying to get things dry overnight in time for the start of the next day.

Football Gear
Clean grass stains as described above. Soak the gear in warm, soapy water before washing it to remove mud.
Rugby Gear
Gets even grubbier than football gear and also has the chance of getting bloodstains. This is a pain, especially in the case of replica England or Wallabies shirts (those with replica Scotland, France or All Blacks shirts are luckier). Clean the bloodstains first, if any. Wash these out with cold water first before dealing with mud. However, grass stains can be treated at the same time as bloodstains. Hint: brush off some of the thicker bits of mud manually first with a stiff scrubbing brush to get the worst off.
Athletic Cups/Cricket Boxes
While these don’t get as visibly grubby as other gear, they do get a bit sweaty. While it is possible to pop these items into the dishwasher, most of us wince at the idea of something that’s been “down there” with the stuff we eat. It’s Best to clean these separately by hand in warm, soapy water. Dry with a regular tea towel and pop that into the wash.
Cleaning Leather Gear
Brush the worst of the muck off with a damp cloth. Once the gear has dried, work the oil into the surface. You can use plain linseed oil or make a more durable polish by melting beeswax in the linseed oil (castor oil or any other vegetable oil will do) and letting the mixture cool. You can add a few drops of essential oil to the mixture. Store in a screw-top jar. Rub this on with a soft cloth, then buff it with another cloth. Saltwater can wreck leather, so if you get salt water onto any leather goods (including ordinary shoes), soak the item in a mixture of milk and water. Rinse well to remove any sour milk pong, then dry well (never dry leather in front of a radiator or harsh sunlight). Then, treat it with the homemade leather polish as before.
Cleaning Wooden Gear
The trickiest piece of wooden sports gear to clean is a cricket bat, which should never get wet.
The best way to clean this is to give it the good old-fashioned linseed oil treatment. Wipe the bat down with linseed oil and leave the oil to seep in. The oil will clean off the worst of any grime. Lie the bat flat while drying, and keep it away from direct heat. Don’t over-oil a bat; be careful not to oil the bit where the bat meets the handle, or the handle may come loose. If a bat does not get completely clean after the linseed oil treatment, do not worry: red marks from a ball are marks of honour. Other wooden gear can be cleaned with dilute vinegar and polished with a homemade polish from beeswax melted in linseed or some other vegetable oil.
Metal
It’s important to keep metal free from mud and grime, as this can cause rust. Wipe the worst off with a sponge dipped in warm, soapy water, then dry well. If metal needs to be bright and shiny, mix a paste of salt and vinegar and apply it to the metal (this works best with copper, brass and bronze), followed by wiping it off with a damp cloth.

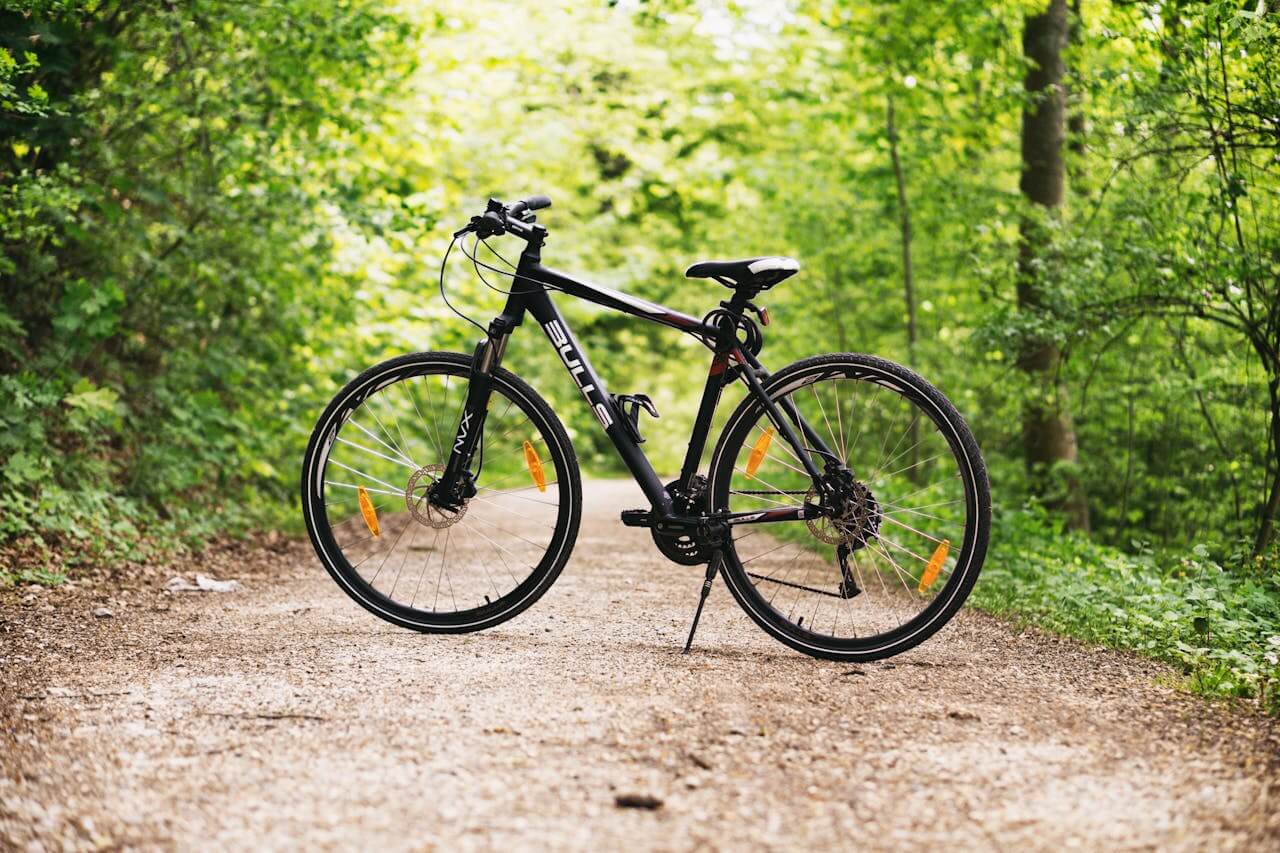
Bikes
Mountain bikes’ gearing systems should be kept free from rust so they run smoothly. Brush off any excess mud with a scrubbing brush and warm, soapy water—this can be done to the whole bike body. It’s not exactly natural, but the best way to keep a bike chain and gearing system well-lubricated is to use old car engine oil. This does have the advantage of being sustainable, as it avoids old car oil going into the landfill.
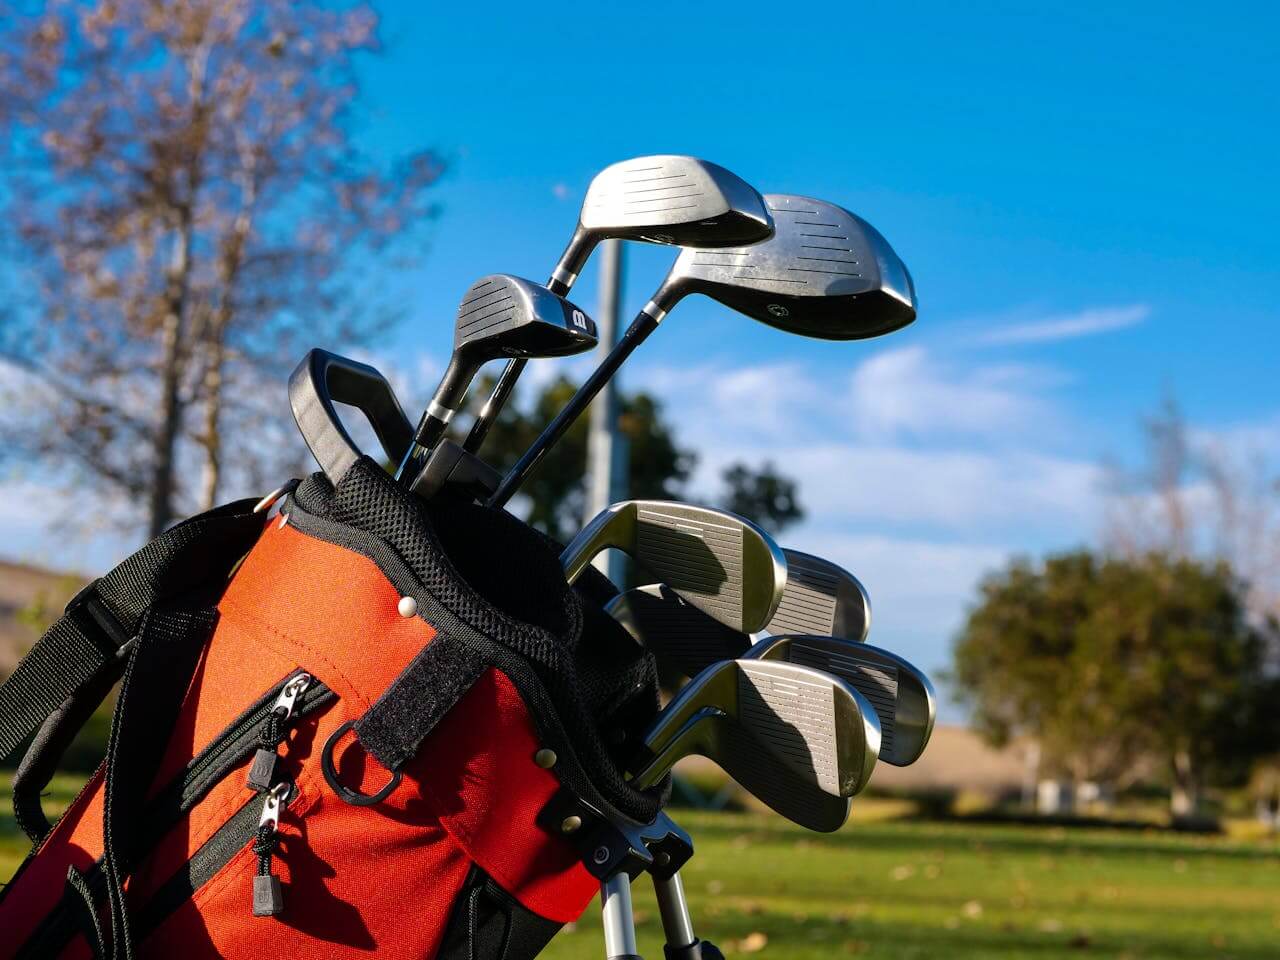
How To Clean Golf Clubs
Every golf enthusiast, whether amateur or pro, knows the importance of keeping their golf clubs clean. Cleaning the clubs is essential to ensure that they serve you long and well. However, like everything else, it’s always easier to do an excellent job if you follow some basic guidelines.
To get started, you will need an enormous container, drying rags, mild soap (dishwashing or hand soap works well), and a plastic bristle brush.
Fill the container with enough warm water to cover the heads of the golf clubs. Put in the soap and stir to mix the soap and water to create some suds. Place the clubs into the water with the heads submerged, ensuring the water and suds cover nothing else. If more than the heads of the clubs are covered, you will need to remove some of the water. Let stand for about five minutes, there is no need for excessive soaking. This will loosen any dirt, oils and other debris which would have become attached to the heads of the iron. (Do not use hot water as this will damage the piece of plastic that is fitted over the shaft of the club. This part of the club is known as the ferrule).
Next, brush each golf club individually, starting at the head, before washing the rest of the iron. Remember to wash well because your club will have taken up dirt from the greens, residue of whatever chemicals were used to treat the grass, and oils from handling while playing.
If there is rust on the iron, use a piece of mild steel wool or other such material to rub the rusted area gently. This should remove the rust.
Once you have washed the clubs, rinse well to remove all the suds and particles that may still cling to the golf clubs. Dry properly.
If doing it the ‘old-fashioned way’ isn’t your thing, several different cleaning kits are available on the market. Visit any pro golf shop to find your pick of kits.
A word of caution: If the clubs have wooden parts, never submerge them in water. Instead, dampen a cleaning rag, dip the club quickly in the wash water, and wipe thoroughly with the damp rag. Use a brush (not wire-bristled, as this will scratch the material, whether wood or metal) to get at debris and grass that may have settled in the grooves. A hard-bristled toothbrush can also work. Be sure to dry well.
Before replacing your now clean and dry golf clubs in the carrying bag, clean the bag as well.
Cleaning your golfing equipment periodically will enhance your swing on the golf course, as clean club heads do a better job of striking the golf ball.

