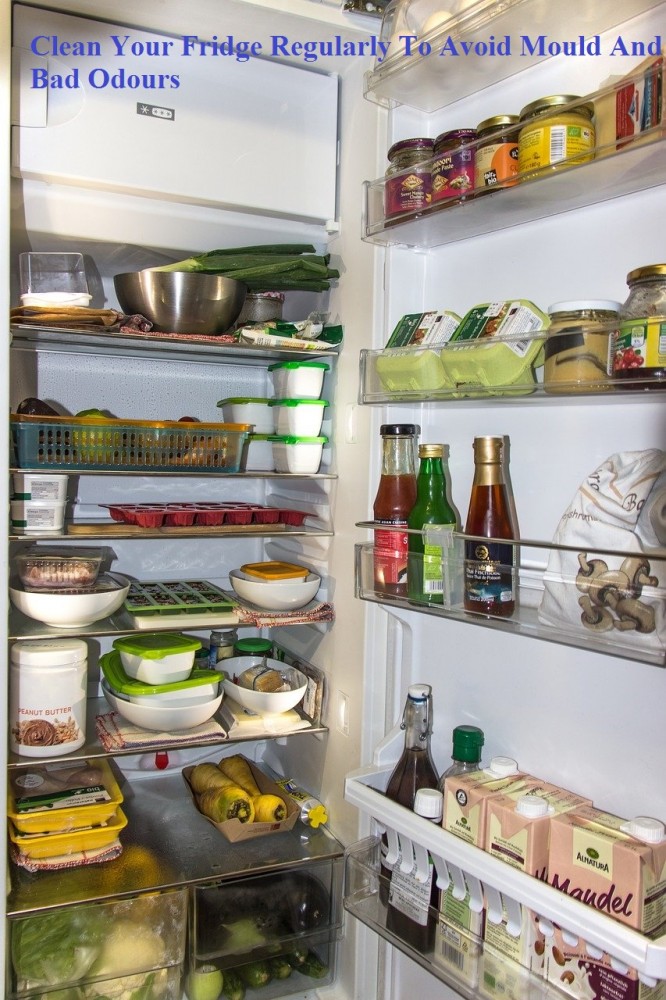
Modern Life Would Be Impossible Without A Fridge
Can you imagine living without a fridge? Most of us cannot; we depend on them for safe, sanitary storage of half of our food. When they were introduced in the early 1920s, electric refrigerators revolutionised the shopping and cooking habits in kitchens all over the world. No longer were housewives forced to shop daily for fresh food and only to cook what the family could immediately.
But refrigerators must be kept clean to be safe; even at temperatures at the recommended levels of 40 degrees Fahrenheit, bacteria can grow and contaminate what food we keep in them. Most fridge/freezer units made since 1985 have fewer nooks and crannies to capture drips and spills, but they all still have racks, gaskets, and holes in the walls to support the shelves and drawers. If you do not clean refrigerators regularly, they harbour nasty microbes that create unsafe havens for our food supplies.
Cleaning The Fridge: Start From The Inside
Cleaning the fridge is a task that most homeowners hate, but it is an important one for many reasons. A clean fridge keeps your food longer and safer and is more energy-efficient.
Set aside at least an hour if you plan to do a thorough job of cleaning the fridge. Have the following handy:
- Basin or sink filled with mild soap water
- Basin of bleach water
- Sponge
- Ziploc bags or other see-through storage containers

Our leading London end of tenancy cleaning specialists share the following top-notch algorithm of tasks for perfect fridge cleaning:
Turn the power off. You will need to keep the door open for quite a long time, and if the fridge is left working, you will consume huge amounts of power as it tries to keep itself at the right temperature.
Take all the food and beverages out. Check all of them to make sure that they are still in the land of the living. Items that are not can have a quick one-way trip into the compost heap.
Remove any trays, drawers or racks that can come out. Run a basin full of hot water and dishwashing detergent or soap and put them in to soak as best you can.
Arm yourself with your cleaning tools. Using natural cleaning products with low toxicity is important, as harsh chemicals can and will contaminate your food. For this reason, it’s also best to avoid using essential oils to clean the fridge, which is lovely and natural. Few people like lavender-flavoured cheese, although fresh lavender could go quite nicely as a marinade or in a cheese sandwich, but that’s another story. Baking soda is your best bet; it doesn’t scratch and absorbs those smells. Use dilute white vinegar as a backup if you need it. Also, provide yourself with a small array of soft clothes, some dipped in fresh water and some left dry. An old toothbrush (not the one you keep for cleaning the lavatory) will also come in handy.
Shake baking soda liberally around the fridge, and don’t forget the door. Use one of your wet or damp cloths to scoop up some more baking soda – it will form a paste when wet – and apply it to the sides and roof.
Rub vigorously at all surfaces, starting from the top and working downwards. This way, any drips or spills fall onto dirty areas rather than ones you’ve already cleaned. Start with the main interior compartment and work to the bottom, rubbing over the surface with a soft cloth. You will need to rinse the cloth periodically, so have a bowl of warm water handy for this. If you come across any stubborn bits of grime, use a soft bristle brush to scrub it off gently – an old toothbrush is ideal. After you have finished the main compartment, repeat for the inside of the door. If you have a butter warming compartment, do this separately with a new cloth, hot water and detergent, as this area can get very greasy.
Use a clean damp rag to remove the baking soda paste once you have scrubbed everything.
Give the inside and the door a final rinse-off with clean water (or, better still, vinegar), then dry thoroughly.
Have a good look around. If any food or other smears remain, use dilute vinegar and an old toothbrush to remove them.
If you have one of those fridges with a drip pan underneath the cooling element, ensure that this is cleared out and can drain freely. Pour a little vinegar (full strength, not diluted) into this to deal with any mould. Yes, mould can grow inside a fridge, albeit more slowly than in a warmer spot.
Tackle the trays, drawers and racks. Wash these either in the sink or the dishwasher. The sink is probably quicker and more comfortable, as the trays are a beast to fit in the dishwasher. Use vodka or some other strong alcohol to wipe down meat drawers or trays to kill bacteria. Rinse and dry everything as usual.
Once a week, use a mixture of 1/4 cup baking soda in a quart of warm water to clean all interior surfaces and a scrubby sponge to clean up sticky spills you missed during the week. You will have to move stored food around to do this, so this is a good time to wipe down the ketchup and salad dressing bottles before they're put back.
Cleaning The Fridge - The Exterior Is Important Too
Start from the top and work down. Most of the grime on the outside of the fridge is greasy (apart from the top, which gets dusty), so a grease-busting product works best here. However, plain soap and water or baking soda work perfectly well. Baking soda is the better of the two, as it does not leave a streaky residue like soap. Pay special attention to the door handles; wipe off excess dirt with soapy water and then wipe with an appropriate disinfectant. If you use your fridge door as a message centre, this is a great moment to ensure all messages are up-to-date and old notes do not clutter the area. Finish by drying the outside off thoroughly.
Cleaning The Freezer Compartment

It is not the job you want to do every day – and you probably shouldn’t – but every once in a while, you will need to clean out the inside of a freezer. No matter how conscientious you are about leaving the door open for the minimal possible amount of time, the ice will build up inside the freezer, leaving less space for you to store frozen food in. If the ice accumulates because you are procrastinating about cleaning it up, it will accumulate to the point that you can’t close the door.
The necessary cleaning equipment:
- An empty bucket
- A bucket of warm soapy water
- Soft scrubbing brush (the sort you use for cleaning the outside of a car works well)
- A spatula or fish slice
- Lots of towels
- Gloves – not rubber gloves, but thick ones suitable for skiing
- One of those insulated boxes suitable for picnics
- Boiling water and another bucket or large bowl
- Blankets and newspapers
- Baking soda
- Rags – some damp and some dry.
- First, switch the fridge off and open the door. Remove all the frozen food from the freezer, put it into the insulated box, and shut the lid, so it doesn’t thaw. If you have other stuff that won’t fit into the freezer, wrap this up securely, first in a newspaper to absorb any water, then in blankets as insulation. Shove the whole lot together in a cool, shady place such as the garage, while you work.
- Next, start thawing the ice. Put towels at the bottom of the freezer to catch any drips so the melting water does not spill all over the kitchen floor. If you want to speed things up, put a bowl or two of boiling water inside and close the door. You will still need to wait for the thing to do their work – you will probably have enough time to vacuum the floor or clean the bathroom while you wait.
- Put on the ski gloves and use a spatula to remove the ice from the side of the freezer. Be careful not to scratch the inside of the compartment. Pick up the chunks of ice and put them in the empty bucket. When the bucket is full, take it outside and dump it in an odd corner, where it will melt happily.
- Once you have got the ice out, you can wash around the inside of the freezer walls. The soapy water is best for the walls, using the soft scrubbing brush. If any bits and pieces linger on the walls, use the rags and the baking soda to get them off.
- Rinse out the soap and baking soda residue with fresh water and remove the soggy towels from the bottom. Dry the walls and then put the food back in. If you are a neat freak, make a list of what you have in cold storage.
- To prevent odours, spillage, and freezer burn, wrap your frozen foods in plastic wrap and again in aluminium foil. It is an old cook's trick in the restaurant business. Cleaning freezers in a restaurant takes most of a shift and loses valuable cooking time, so they came up with this to decrease spillage. The more airtight the containers, the fresher the food will keep, keep longer, and cleaning freezers takes only about half a shift. Plastic pans spread with baking soda on the bottom of the freezer will also help with stale smells. If you have a persistent problem with chest freezer odour, you may have a freon leak. Call a professional to check and fix it. Still, you can also buy activated charcoal to help eliminate foul odours.
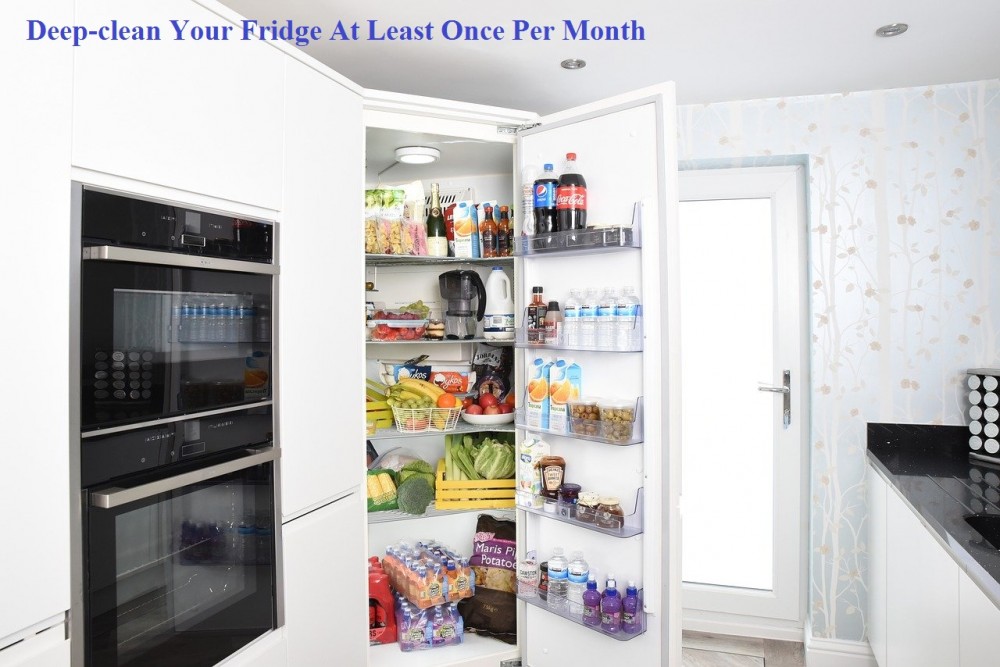
Try to clean your fridge at least once per month. It is best to do this before shopping so as not to worry about spoilage while you are cleaning. If you have items in your fridge that spoil quickly, keep an icebox handy to keep them fresh until you can replace them in the refrigerator.

