The Starting Manual For House Cleaning Rookies
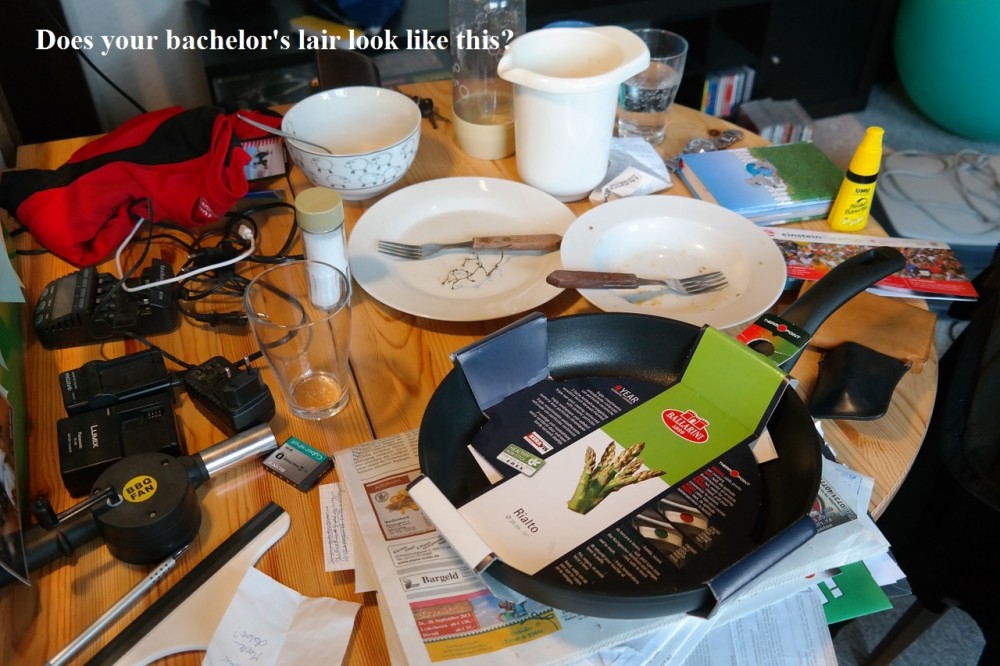
Well done guys – you’re out on your own. However, if you want to keep your new flat looking like something reasonably fit for human habitation that won’t send prospective girlfriends running in utter horror, you might be in for a rude awakening. I know what you are going to say – a bachelor is supposed to live a life of clutter and untidiness unless of course, there is Jeeves in the offing to do the cleaning up. It is an image that is long since out of date and bachelor or not, there is no longer any excuse for living in messy surroundings.
Let’s start with the tools of the trade. The absolute minimum will include a vacuum cleaner, a broom, a mop, a bucket, several cleaning rags (a torn up old T-shirt is ideal) and maybe a scrubbing brush or too. You will also need a few chemical weapons – either specialised chemicals, sprays and solutions (they will have what they’re useful for printed on their labels) or else plain dishwashing liquid, some soap, baking soda, vinegar and some strong alcoholic spirits like vodka or whisky. The advantage of baking soda, vinegar and alcohol is that they are multi-purpose.

Step One: Vacuum Cleaning
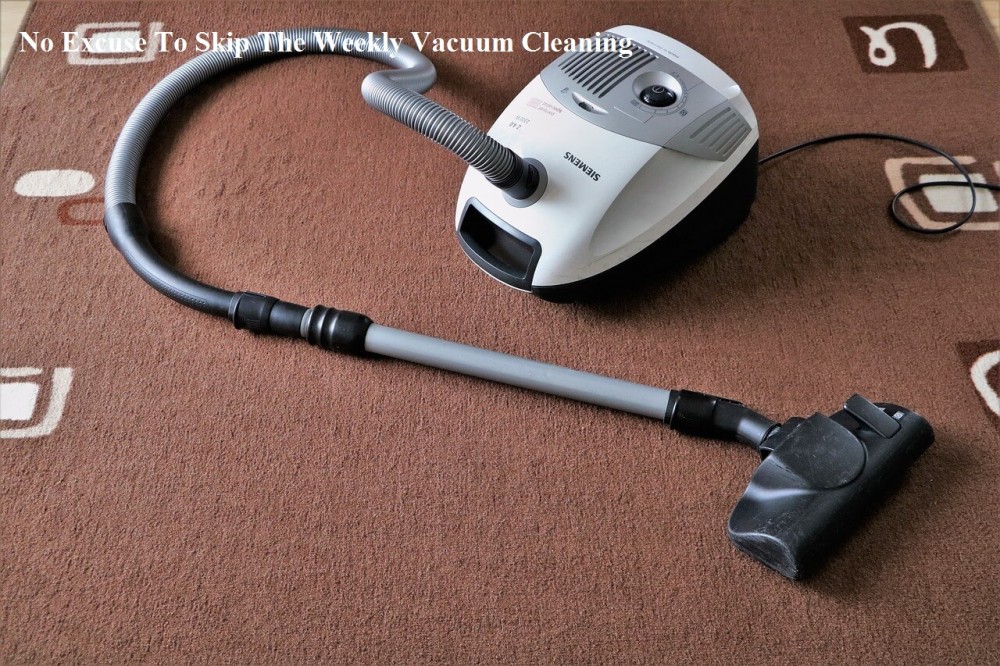
The vacuum cleaner is the easiest bit of cleaning to do, and it’s amazing how it really makes a room look a lot tidier (it also prevents infestations of fleas). If you have the habit of dropping stuff on the floor instead of into the bin or  putting it away, you will need to tidy the floor up first, which is by far the hardest part of the job. Then plug in the vacuum cleaner, switch it on and get vacuuming.
A couple of pointers, however. First, don’t vacuum up things that are longer than the hose of the vacuum is wide (if you have a pull-along type of vacuum), as these will get stuck at the bend, requiring you to poke around with bits of wire to clear the blockage. Secondly, don’t vacuum up wet stuff unless you have a special wet-and-dry vacuum cleaner, and never vacuum up vomit – the smell will stay in the vacuum cleaner for ages, so it gives an odour of Eau de puke each time you use it. How do you know when you need to vacuum? Do a few press-ups on the carpet – if you get a close-up of fluff, dirt, bits of leaf and hair each time you come down, it’s time to vacuum.
Step Two: Mopping The Floor
You can vacuum smooth floors (e.g. lino or wood), but lino will need mopping from time to time, especially in the lav nearest to the bowl – you know what I mean! To mop a floor, always sweep or vacuum it first to get loose grub off, or else you’ll end up sticking it to the floor. Then get your bucket and fill it with warm water. Squeeze in a generous amount dishwashing detergent, pump the mop-up and down to get some bubbles, then get mopping. Mopping involved rubbing the squeezed out damp mop over a patch of floor, then rinsing it out with another couple of dip sand squeezes. Plan your escape route, so you don’t have to back out of the bathroom over a wet floor, walking all over what you’ve just done in your not-so-pristine sneakers. If you want to polish a floor (this is optional), do it like you would a car, putting on the polish first, letting it dry, then buff it up with a soft cloth. Doing the final buff by wearing an old pair of socks and skating across the floor is fun.
Step Three: Dusting
Dusting is dead easy. Use a soft cloth, possibly damp, and wipe it over the top of the stereo, the mantelpiece, windowsills, TVs and computer equipment, picking up the dust as you go. Then throw the duster in the wash. Fancy feather dusters made of ostrich feathers are best kept for computer keyboards.
To clean baths and sinks, use the baking soda or a spray-n-wipe and a soft cloth. Rub it on until any gunk has gone, and don’t forget to do the taps. Rinse off afterwards. Around basins, you may not need to use much domestic cleaning product, as what you are cleaning off is toothpaste and soap – which cleans quite nicely.
Step Four: Cleaning The Toilet
The loo is considered the worst thing to clean, but it’s not that bad. Use one of those toilet duck things to squirt around the rim of the bowl. Leave this to sit, then scrub the bowl with the toilet brush like heck, making sure you get all of the bowl and the top of the downpipe. Then slosh some disinfectant (or vodka) onto some loo paper (or cloth) and wipe down the seat (top and bottom), the lid (ditto) and the outside of the bowl. Drop the old loo paper into the bowl. Get a fresh bit of loo paper and dust the top of the tank. Then flush the old bits of paper and the bubbly stuff down. Top up supplies of loo paper and remove old rolls. Done.
Step Five: Cleaning The Kitchen
With the cost of eating out going up every day and health concerns driving more and more people towards a healthier home-cooked diet, keeping a kitchen clean and tidy is becoming an increasingly important aspect of home cleaning. While it’s always a good idea to use a house cleaning service regularly, it’s easy to keep a flat and especially the kitchen from getting too dirty between the cleaner’s visits.
Don’t just stand there waiting for your water to boil. Use the minute or two it takes to put things back in place or just tidy up in general.
Is the thought of cleaning up afterwards one of the main reasons why you don’t cook at home? Designate a fixed counter space where you will do your work and discipline yourself to work only there. This will reduce the amount of space you need to clean.
Wash pots and pans immediately after use. It’s easier to do it before the oil and food particles stiffen and become hard to remove. Do the cleaning while other things are being cooked on the stove. Keep doing this, and when the cooking is over, you won’t have more than one or two pots to clean.
Once you finish eating, wash up immediately. A few plates won’t take much time, and once it is done, you’re free!
The essential thing to keep in mind is to learn to multitask in the kitchen. Say you have something on the stove that will take 20 minutes to cook. You could go and watch TV during this time (and each time you cook) and get to the stage of dreading entering a kitchen in dire need of cleaning. Or you could use the twenty minutes to get all the cleaning done and then relax.
You have a busy life and can’t be expected to devote time to home cleaning. But you can’t have the cleaners in every day, and you can’t live in dirty surroundings. If you learn to clean up in the kitchen when waiting for something else to be completed, you’ll find it becomes a habit and as time passes you will be able to do the cleaning much faster. The kitchen cleaning is only a matter of minutes every day, not hours.
Step Six: Doing The Laundry
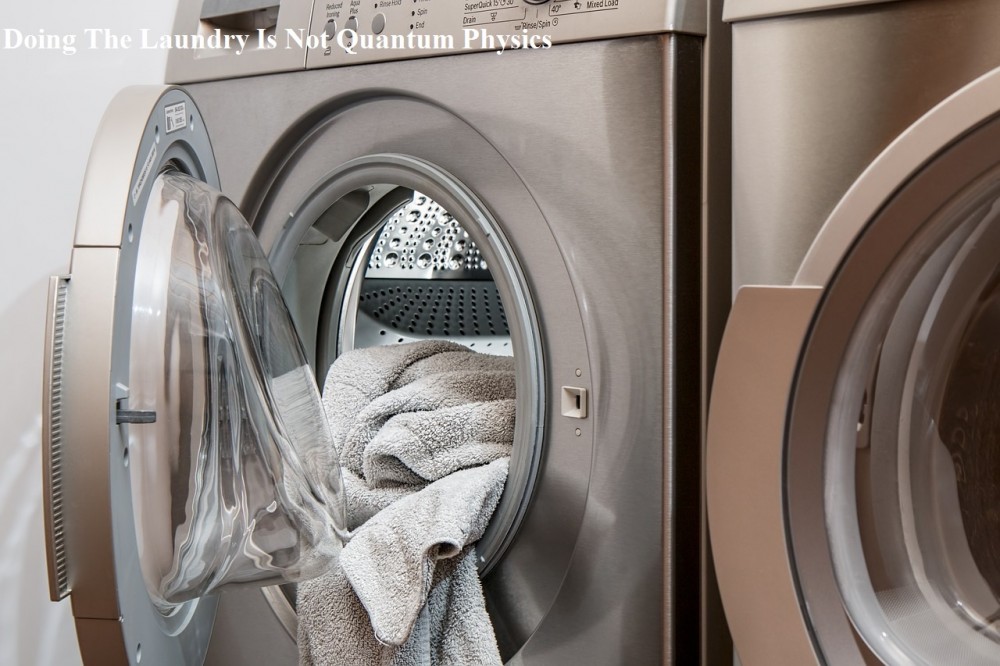
 Contrary to popular belief by many guys, laundry and cleaning are not done by little fairies. The entity that has to make sure that your dirty clothes, towels, sheets and tablecloths find their way from the bedroom, bathroom floor, the back doorstep and out of your sports bag to the laundry, into the machine, onto the line then back again is you. We won’t even go there when it comes to ironing.
The first thing to do is to round up the dirty little suckers and get them ready for the laundry. Ideally, you have a basket, bag or box for collecting dirty washing rather than the method practised by most guys of my acquaintance: dropping it on the floor. But we’ll ignore that part of it. What you have to do now is sort things out. While it’s tempting to throw everything into a regular wash all together, sorting will avoid disasters like your red rugby shirt turning your white work shirts pink or your flannelette sheets leaving fluff all over your black polar fleece.
Sort things into several piles. Really dirty stuff (rugby gear, work overalls, things covered in mud) can go in their pile. They’ll need a heavy-duty wash and possibly a bit of soaking, too. Then you’ll need two piles of normal gear – light coloured stuff like white shirts, grey singlets and pale fawn trousers in one pile; dark stuff like blacks, navy blue, greens, reds and so forth. Lastly, you’ll need a pile of things needing TLC – this includes satin boxers, woollen jerseys and silk shirts. Each group needs to go into the washing machine as a separate load, but the good news is you can procrastinate and wait until you’ve got a full load of one type – it saves power and washing powder. You may also like to have a separate pile for polar fleece, so they don’t pick up fluff from cotton things.
Before you bung the clothes in, check the pockets for things like loose change and tissues – and you might find that missing phone number while you’re at it. Load the stuff in the washing machine and put in the right amount of powder. Program the machine to wash according to the water level, the temperature and any special instructions, such as soaking or delicate wash (that’s the one you use for the satiny boxers – and remember to wash woollen things in cold on a wool cycle). Cold washes are cheaper to do and work OK, but you need the right sort of powder. Most powders are OK in cold these days, except for biological (enzyme) washing powder.
Once the machine has done its thing, hang the clothes out or dry them in the machine. If you leave them in the machine for more than a day (overnight is OK), they’ll start to smell of tofu or old cheese. If you’re using pegs, try to put them on the part of the clothes that won’t show the marks, and try not to let the bit you’re pegging get too folded over, as this will make clothes hard to dry. Hang towels from the corner, but you can fold sheets over. It’s a good idea to hang socks up in pairs, so you don’t mismatch them – and you can see if you’ve got odd socks straight away.
Try to get in the washing on the same day as you put it out, although it’s not the end of the world if things sit on a drying rack for a day or so – or even on an outdoor washing line. If it gets caught in the rain, don’t panic – think of this as an extra rinse cycle. But if you want to wear them and don’t fancy hopping out to the line in the nick looking for a clean pair of underpants, get them in and put them away a.s.a.p.
