Cleaning Your Computer Regularly Will Prolong Its Life
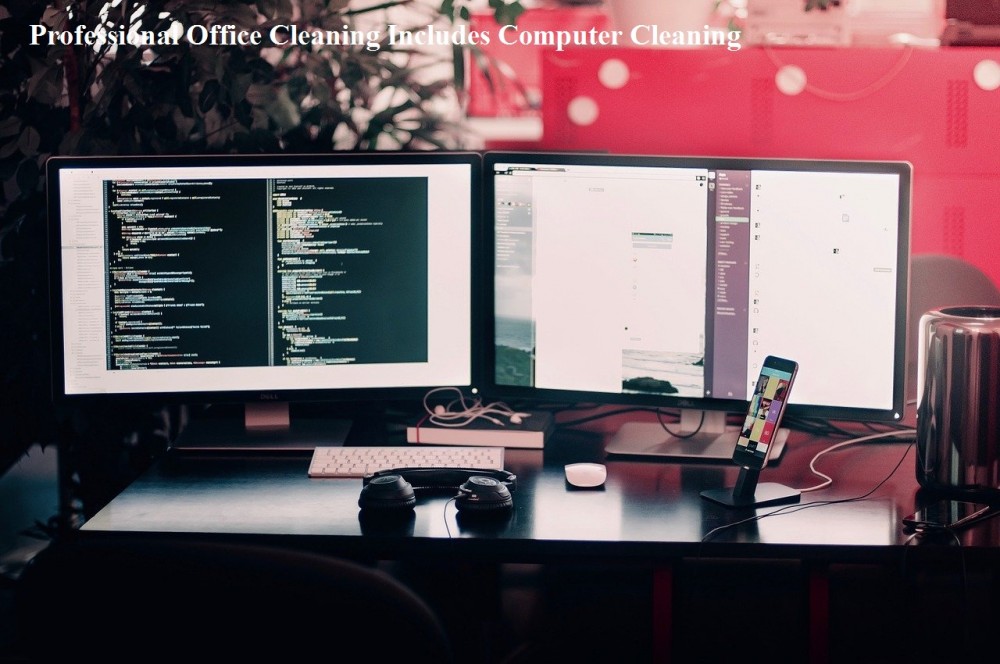
Did you know that the most likely reason for computer malfunctioning is not viruses, Trojans, electric breakdowns or liquid spillages – it is dust accumulation. Surprising though it may be, regularly dusting your home computer will most certainly prolong its life. And you want to do it on your own, especially if you use it for something more than fun and the occasional movie night with friends. Most professional office cleaning providers include computer cleaning and maintenance as a staple of their regular service package, but it is a good idea to possess a certain level of know-how on how to keep your computer neat and in perfect working condition.
Let’s Start With The Basic Task – Dusting
 A computer comes in different parts. If you’re using a standard desktop, you will have a CPU, a monitor, and a keyboard. I’m not counting all the peripherals like printers and mice, although you probably have these as well.
Dusting is the first port of call for effective computer cleaning. Dust getting into the system can cause computer malfunctions and crashes and even fire. Keep your whole workspace dusted regularly. A damp rag works well, as does an old-fashioned feather duster. They say that ostrich feathers make better feather dusters for computers, as these are lower in static than chicken (or turkey) feather dusters or the nylon “feather” dusters. Don’t try to dust or vacuum inside your CPU – a regular vacuum cleaner’s nozzle is too wide and can damage circuitry. Some hardware technicians have a special small vacuum for doing this job – leave it to them! Dust the keyboard, the monitor and the CPU. And your desk! In this respect, make sure that the carpets in your office are vacuumed frequently, as this will reduce the overall amount of dust in your office environment.
Monitor Cleaning And Polishing
The screen of the monitor will need cleaning from time to time. It’s amazing how much grime gets onto these screens – fly dirt, general dust and even finger marks (and, in the case of the old joke about how you can tell if a (insert nationality/hair colour to be picked on here) has been using your computer, correction fluid on the screen). Most monitors can be cleaned like you would clean any other glass surface, although using a spray-on product isn’t wise, as the spray can get onto and into the keyboard and other bits of hardware very easily. Apply the house cleaning fluid (or dilute vinegar) to a soft cloth or paper towel, then dry with a lint-free cloth or crushed newspaper. My preference, however, is to use a micro-fibre cloth that has been designed for lenses, CDs and screens.
Keyboard Cleaning
The main keyboard cleaning tools are:
Computer wipes, preferably pre-treated
A soft cloth or hand towel
Cotton swabs / Q-Tips
Compressed air
A small brush (stiff bristles)
Computer cleaning fluid / or water
Now, you are all set to get cleaning. Make sure that you have shut down your computer. Next, unplug the keyboard from the system unit (some refer to this as the CPU – Central Processing Unit).
The following steps will get you on the way to a cleaner keyboard in no time: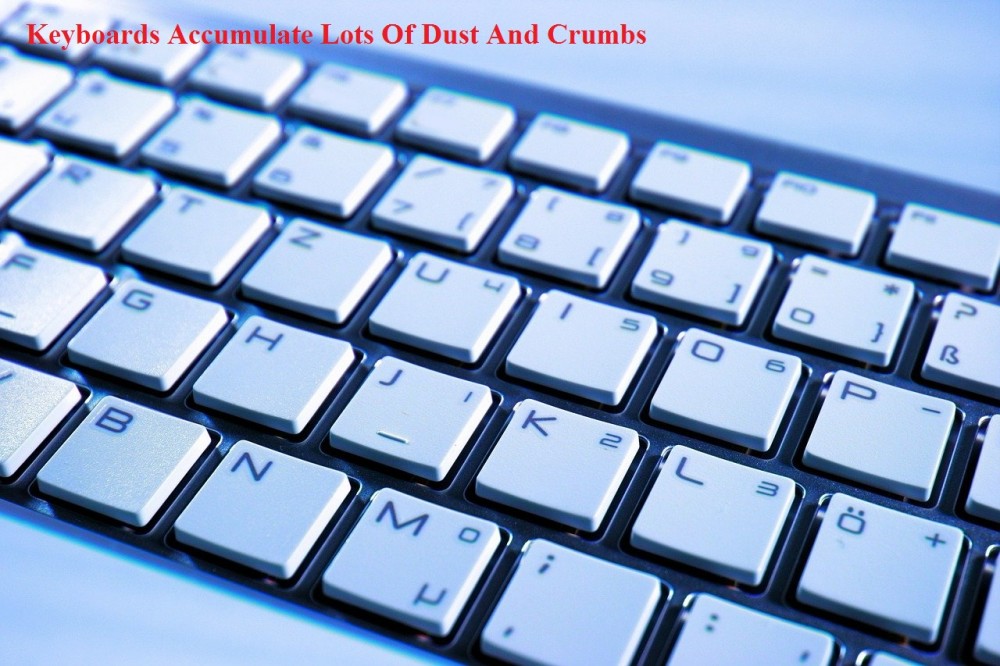
Step 1: Turn the keyboard upside down and shake out all the loose dirt and crumbs. Yes, crumbs, we are all guilty of eating at our computer. Next, use the compressed air to blow out any remaining dust and other particles from between the keys. Tilt the compressed air at a slight angle when spraying. Also, hold the keyboard with the keys facing down. It’s a good idea to do this outside as you don’t want to redistribute the dust inside your home or office. If you do not have compressed air, you can use a small vacuum. Most come with parts to clean small electronics such as your keyboard. If you are using a vacuum, take extra care not to suck up the keys. Keys can easily be suction-off if the vacuum is powerful enough.
Step 2: Dampen the soft cloth with water or the computer cleaning fluid and wipe down your keyboard. This will remove dirt and goes a long way in cleaning your keyboard. Do not spray the water or liquid directly onto the keyboard when cleaning it. For really stubborn dirt or stains, put some rubbing alcohol onto a cotton ball and wipe away. Dip a cotton swab into some water or alcohol, and use this to clean the spaces on your keyboard.
Step 3: If you are unable to properly clean between the keys, try to gently remove one to ensure that they can be removed. Most keyboard keys can be removed. Do this one at a time so that you remember where to replace them. Better yet, take a picture of the keyboard and then remove them all. Removing the keys is not the first option, however.
Step 4: You should now have a presentable keyboard. Make sure your clean keyboard is completely dry before plugging it back into the system unit, power-up your computer and you are good to go.
To keep your keyboard clean, try using a keyboard cover when not in use and minimize eating while at your computer.
However, it pays to know what to do if you spill coffee (or another drink) on your keyboard. Because no matter what good intentions we started with, we all end up having coffee while working (or playing) on the computer. If you have a spill, act immediately. Unplug the keyboard and run it under the cold tap to rinse off any sticky residue. Never use hot or even warm water. After you have done this, let as much water as possible drain out of the keyboard. Then put the keyboard somewhere warm (e.g. in the sun or a hot water cupboard) to dry, but avoid getting it too hot, such as in front of a radiator or fire. Wait until it has dried before using it again.
Cleaning The Mouse
Computer mice are prone to not working correctly if they get dirty. Dust inside the mechanism can play havoc with a mouse’s function. The easiest way of dealing with this is “mouth to mouse resuscitation”, as I have heard this process described. Simply blow on the ball part of the mouse. This usually manages to get rid of any gunk. If you have an infra-red mouse mechanism, check from time to time that the lens is clean and dust-free. Blowing off the dust can work quite well, but if you can see stickier residue, use a cotton bud dampened with meths or white spirit (or vodka or even vinegar), or else a microfibre cloth to clean the lens.
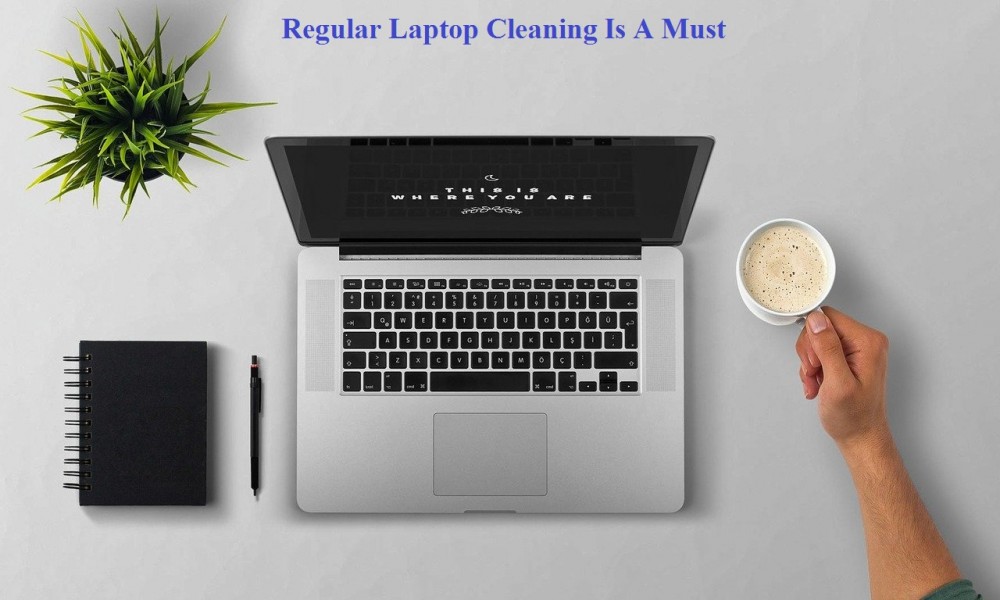
Cleaning A Laptop
All these tips sound very helpful and interesting, but they will be of no use if you have a laptop (or a notebook, or however you want to call it). Do not worry, we’ve got you covered, too!
Open the laptop, hold it with the keyboard facing down and gently tap on the base. This will loosen any dirt stuck between the keys and will allow it to fall away.

If you have a vacuum cleaner available, run it over the keyboard to suck up any dirt left behind.
Open the CD /DVD tray and use the vacuum to clean up any dirt there. Be careful not to touch the lens that covers the laser as you could easily scratch and damage it.
If the outer case is dirty, use a mild cleaning liquid to dampen a cloth and wipe the body of the laptop clean. Never spray anything directly on to the body – the liquid could get in the laptop and damage it.
To clean the screen uses a soft cloth very lightly dampened with plain water and wipe the surface gently. Make sure no water collects on the screen surface.
It’s all very well to say that laptops are built to withstand tough use. But regular cleaning will reduce the chances of anything going seriously wrong with it and leaving you stranded with all your data lost.
Cleaning CDs And DVDs
CDs and DVDs are pretty indestructible but if they get dirty, they won’t play. Cleaning them, however, is a simple and quick job that will take you just a few minutes, so you don’t have any excuses to skip it.
Start by mixing a teaspoon of dish detergent in a cup of water – bottled water is preferable since it contains no minerals. Mix the soap till you have a smooth solution.
Dip one end of a soft lint-free cloth in the solution. The cloth should be damp but not dripping wet. If it gets too wet, wring out the excess water before using it.
Place the CD or DVD on a clean soft cloth with the data side upwards (the one with no printing on it). Use the damp cloth to gently rub away any visible stains, fingerprints, dust, and grime. Be sure to rub from the centre of the disc to the edge. Never rub the disc in a circular motion since it may damage the data stored on it. Also, be sure not to rub too hard and cause the disc to bend.
Once the stains and dirt have been removed, dampen another part of the cloth, and use it to wipe off the rest of the CD surface.
Because the cloth you used was damp and not dripping wet, there should be no need to rinse off the disc to remove any excess soap remaining on the surface. If you feel that some soap residue may remain, wipe the disc with a clean, slightly damp cloth.
Now dry the disk with a clean, lint-free soft dry cloth. Make sure that there is no moisture anywhere on the CD.
Software “Cleaning” Is Equally Important
Are you getting the most out of your operating system? Not the sexiest question in the world, but extremely important to the vital statistics of your computer. If you use Windows, you can do some simple things to your system to run at peak efficiency. Think of the following as a gentle form of colonic irrigation.
Performing routine maintenance on your computer is not hard – identify the files you can safely remove, and then use Windows Explorer or My Computer to get rid of them. Freeing your hard disk of unused files will not only give you lots of extra space, but it will also help Windows run faster.
However, even if you use Disk Cleanup, you may want to scan the following list for other files you can remove. You’ll find another utility on the System Tools menu as well: the Maintenance Wizard.
Here are some places to look for files you don’t need:
The TEMP directory
This directory is usually found in the Windows directory, although it can be anywhere. Its purpose is to serve as a temporary holding area for files that programs only need for a short period, such as an unsaved copy of a letter or other document.
The idea is that files in the TEMP directory are not supposed to be permanent, so each program deletes them when they are no longer needed (when you save your letter to disk, for example). But if you exit a program improperly, or restart your computer while some programs are still running, then these temporary files will never be deleted. Since they are not needed, you should get rid of them. Be sure to exit all programs first, then start Explorer and delete any TEMP files you find.
Your Web browser’s cache
A cache is also a temporary holding area for files, this time for your Web browser. You see, before you admire all the nice graphics, animations and so on that make up a typical Web page, your browser has to download all the necessary files to your system.
It stores those files in its cache directory so that they can be quickly retrieved if you leave the page and return to it later on. Although most browsers remove the oldest files from their caches when they get full, none of them typically delete the files in the cache altogether. Since the files can always be recopied to your hard disk should you revisit the associated Web page, removing the files won’t cause any problems with your system and can often get you several megabytes of free disk space.
To clear the cache in Netscape Communicator, open the Edit menu and select Preferences. Then click the plus sign in front of Advanced in the Category list and click on Cache. Click the Clear Disk Cache button and click OK to continue. To clear the cache in Internet Explorer 5.0, open the Tool menu and select Internet Options (in Internet Explorer 4.0, try the View menu instead). Then, on the General *tab, click the Delete Files button.
Other downloaded files
While we’re on the subject, there are other files from the Internet that you could get rid of — all those sound, video, graphics and other files that were downloaded because you just had to have them.
Months have passed, and the sound file of Cartman saying ‘Sweet’ isn’t as funny as it once was, so you might as well get rid of it and free up some more space. Hopefully, you’re in the habit of storing the files you download in the same directory, which will make it easier to find and delete them.
(Actually, you should probably download the files to a Zip disk or other large-capacity drive if you have one and then check the files with a virus detection program before you use them.)
Old .BAK files
When you install some programs, they’ll make a copy of your computer’s configuration files as a precaution. Once the program is installed and everything’s still running properly, you can safely remove these backup files, which usually end in the file extensions .BAK, .OLD, .001, .002 and so on. Since these backup files may be anywhere, use Explorer to search the hard disk for them and delete the ones you find.
Automatic backup files
If you use Microsoft Office, you may have a lot of unneeded automatic backup files on your hard disk. You see, while you’re busy creating a monolithic masterpiece, Office is busy protecting you from losing it. Every 10 minutes or so, Office will create a backup file of your document, so that the most you can lose at any given time is 10 minutes or so of work. It’s a nice idea, but Office does not delete these files, so when you’ve finished a document and closed your program, you can safely get rid of them. The files end in .WBK, and you’ll find them in the same directory as the original file.
Stuff you just don’t need any more
These files might include old data files (such as last month’s sales report) that you simply don’t need any more, old programs you no longer use and old email messages.
To get rid of old data files, copy them onto a floppy disk as a backup, then remove them from the hard disk. To get rid of old programs in Windows 3.1, use the program’s uninstall utility (if there is one) or simply delete the program’s directory and remove its icon from Program Manager.
In Windows 95/98, double-click the Add/Remove Programs icon in the Control Panel, then select the program you want to remove and click Add/Remove. If you don’t see your program in the list, try looking for an uninstaller called UNINSTAL.EXE in your program’s main directory, or the SETUP.EXE file, which should present you with an uninstall option when you run it. To get rid of old email messages, you’ll have to start your email program and delete them one at a time.
ScanDisk files
If you’ve used ScanDisk lately, it may have created some files that end in .CHK in your root directory. These file segments are from improperly completed deletion and move operations (on the computer’s part, not yours).
ScanDisk converts this gibberish into files when it comes across them, supposedly with the idea that there might be something inside you may want to save for some reason. Unless they are parts of simple text files, they won’t contain anything you’ll be able to make sense of, so you might as well delete them.